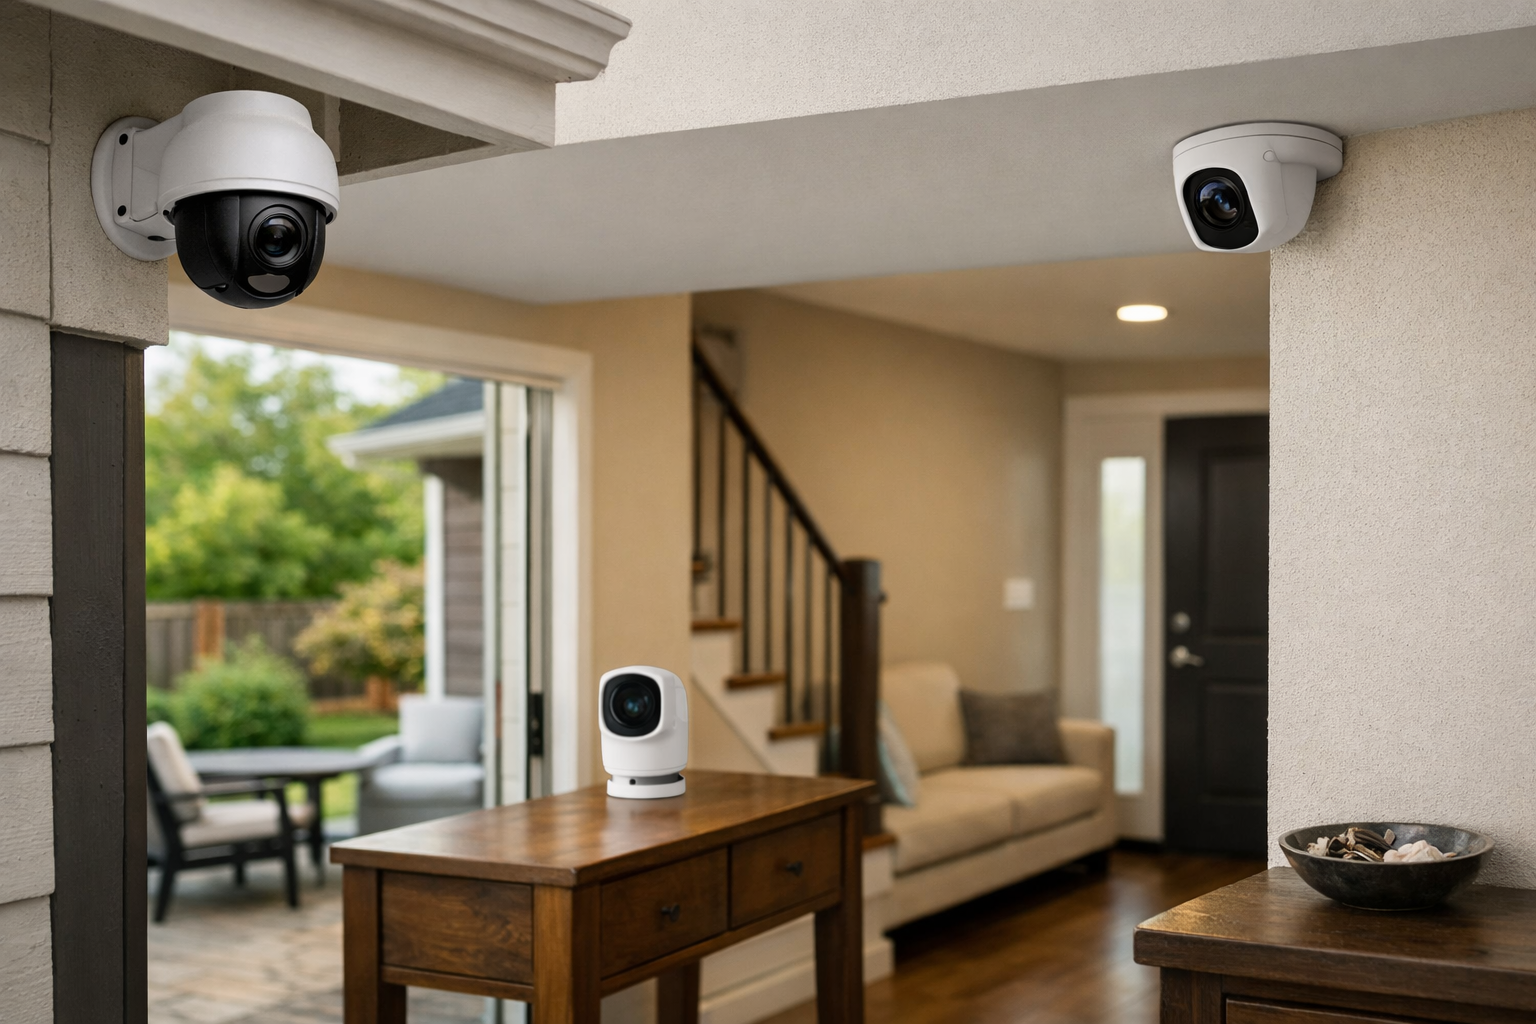
This guide covers how to place home security cameras for useful coverage without unnecessary recording of neighbors, sidewalks, and private rooms. A good camera setup is not about putting a lens on every wall. It is about covering the routes people actually use to approach your home, enter it, or move through important areas indoors.
If you are learning how to place home security cameras, start with a simple goal for every camera. One may watch the front-door approach. Another may cover the driveway and garage. An indoor camera may verify movement through a main hallway. Giving each camera a specific job helps you use fewer devices, reduce blind spots, and make alerts more useful.
Plan Coverage Before You Mount Anything
Walk around your property during the day and make a quick map of entry points, approach routes, and areas where you need visibility. For most homes, the priority list includes:
- Front door and front walkway
- Back door, patio door, or deck access
- Garage doors and the driveway approach
- Side gates, side yards, and paths between homes
- Ground-floor windows that are accessible from outside
- Interior routes from an entry point to the rest of the home
Think about what each view must accomplish. A wide camera view can show that someone entered the driveway, but it may not capture enough facial detail for identification at the far end of that driveway. A closer, more targeted view near a door or gate is often more useful.
Also look for natural blind spots: tall shrubs, parked vehicles, porch columns, fences, shed corners, and deep overhangs. You do not need perfect visibility across every inch of the property. Instead, aim to cover the paths a person would likely take to reach doors, gates, vehicles, or outdoor equipment.
Before choosing a final spot, use the camera maker’s app and live view from the proposed location. Google recommends checking the actual scene, distance, lighting, and connection before installation because a location that looks right from the ground may produce a poor camera view in practice. See Google’s camera placement guidance for model-specific setup considerations.
How to Place Home Security Cameras Outside
Outdoor cameras work best when they create layered coverage. A video doorbell can handle the immediate front-door area, while a separate camera covers the walkway or driveway approach. That overlap can help if one view is blocked by a visitor standing too close, a parked vehicle, or an open door.
Front door and front walkway
The front door is usually the first priority. A video doorbell is designed to capture visitors at close range, deliveries, and activity near the threshold. If your doorbell view is narrow or blocked by a wall, railing, or porch column, consider a second camera aimed across the front walk or toward the driveway.
For a standard video doorbell, about 48 inches above the ground is common manufacturer guidance. Measure from the ground rather than from the porch floor if a raised porch or stairs change the visitor’s apparent height. If your doorway is close to a side wall or sits at the top of stairs, a compatible wedge or corner mount may help point the lens toward visitors instead of the wall or street.
Driveway and garage
A driveway camera should usually cover both vehicles and the route from the street or sidewalk toward the garage and front entry. Avoid mounting it so high or so far away that people appear as small figures. A broad view is useful for activity awareness, but the most important area should be close enough to capture meaningful detail.
Whenever possible, angle the camera across the driveway rather than straight down its length. Some cameras use passive infrared motion sensing, which can be more responsive to side-to-side movement than a person walking directly toward the lens. An angled view can also provide a better profile of someone walking from the curb toward the home.
Side gates and narrow side yards
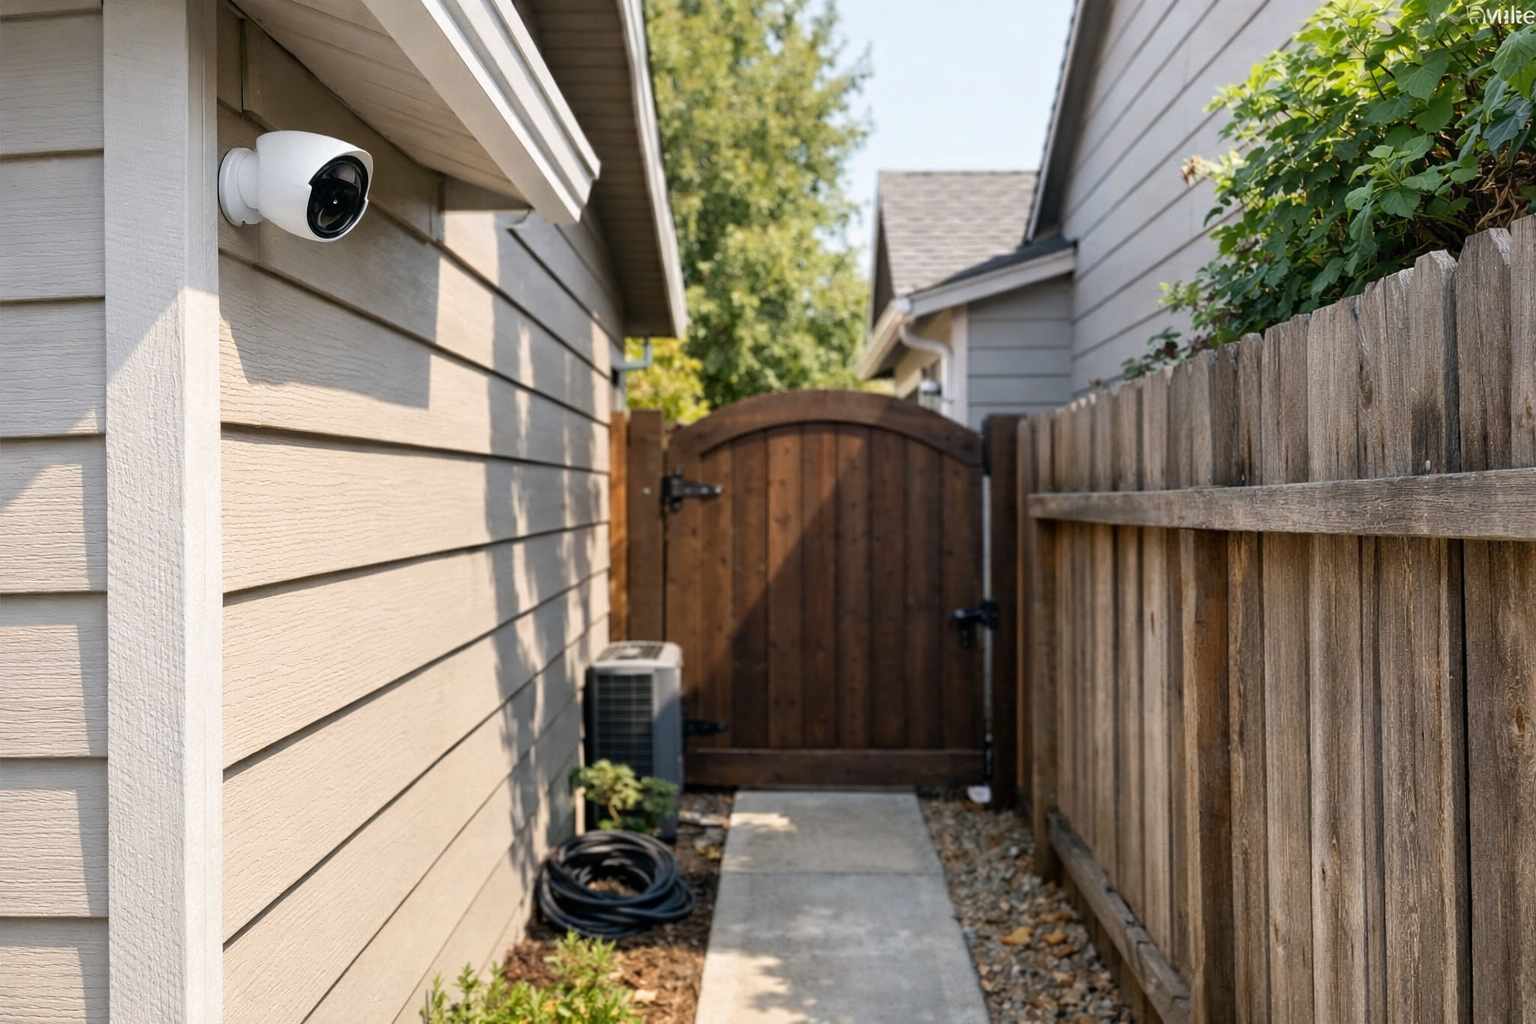
Side gates are often overlooked because they are less visible from the street. Put a camera where it can see the gate opening and the path leading toward the back yard or rear door. Mounting on a garage side wall, soffit, or exterior corner may give a useful diagonal view without aiming directly into a neighbor’s yard.
Check whether gates, trash bins, landscaping, or a parked car can block the camera when they are in their normal positions. A view that looks clear on installation day may become obstructed on collection day or when vegetation grows in.
Back door, patio, and backyard access
Place a camera to cover the back door and the path leading to it. If you have a large yard, do not assume one camera mounted on the house can identify activity at the far fence line. Prioritize doors, patio steps, detached garages, sheds, and gates over distant open lawn.
For patios with bright exterior lighting, position the lens so a floodlight or porch light is not shining directly toward it. Glare can obscure faces, reduce contrast, and make night footage less useful.
The Best Outdoor Camera Height and Angle
Many manufacturers suggest mounting outdoor cameras roughly 8 to 10 feet above ground. This is a practical starting point, not a universal rule. The right height depends on your camera’s lens, field of view, night vision, mounting surface, and the balance you need between tamper resistance and facial detail.
Mounting too low can make a camera easier to reach, block, or steal. Mounting too high can create an unhelpful top-down view that captures hats and hair rather than faces. Check live view at the planned height and make sure the key area—such as a door, gate latch, or driveway path—is large enough in the image to be useful.
A slight downward tilt is often helpful. Ring advises approximately a 20-degree downward angle for outdoor cameras, though your home’s architecture and the camera model may require a different adjustment. Aim to include the approach path without filling too much of the frame with sky, roofline, or distant street activity.
Keep the lens away from direct sun, reflective windows, shiny siding, and lights aimed toward the camera. Mounting under an eave can provide some protection from rain and harsh sunlight, but do not create a view dominated by deep shadows. At night, nearby walls, gutters, plants, or ceilings can reflect infrared light back into the lens and wash out the image.
Indoor Security Camera Placement Without Window Glare
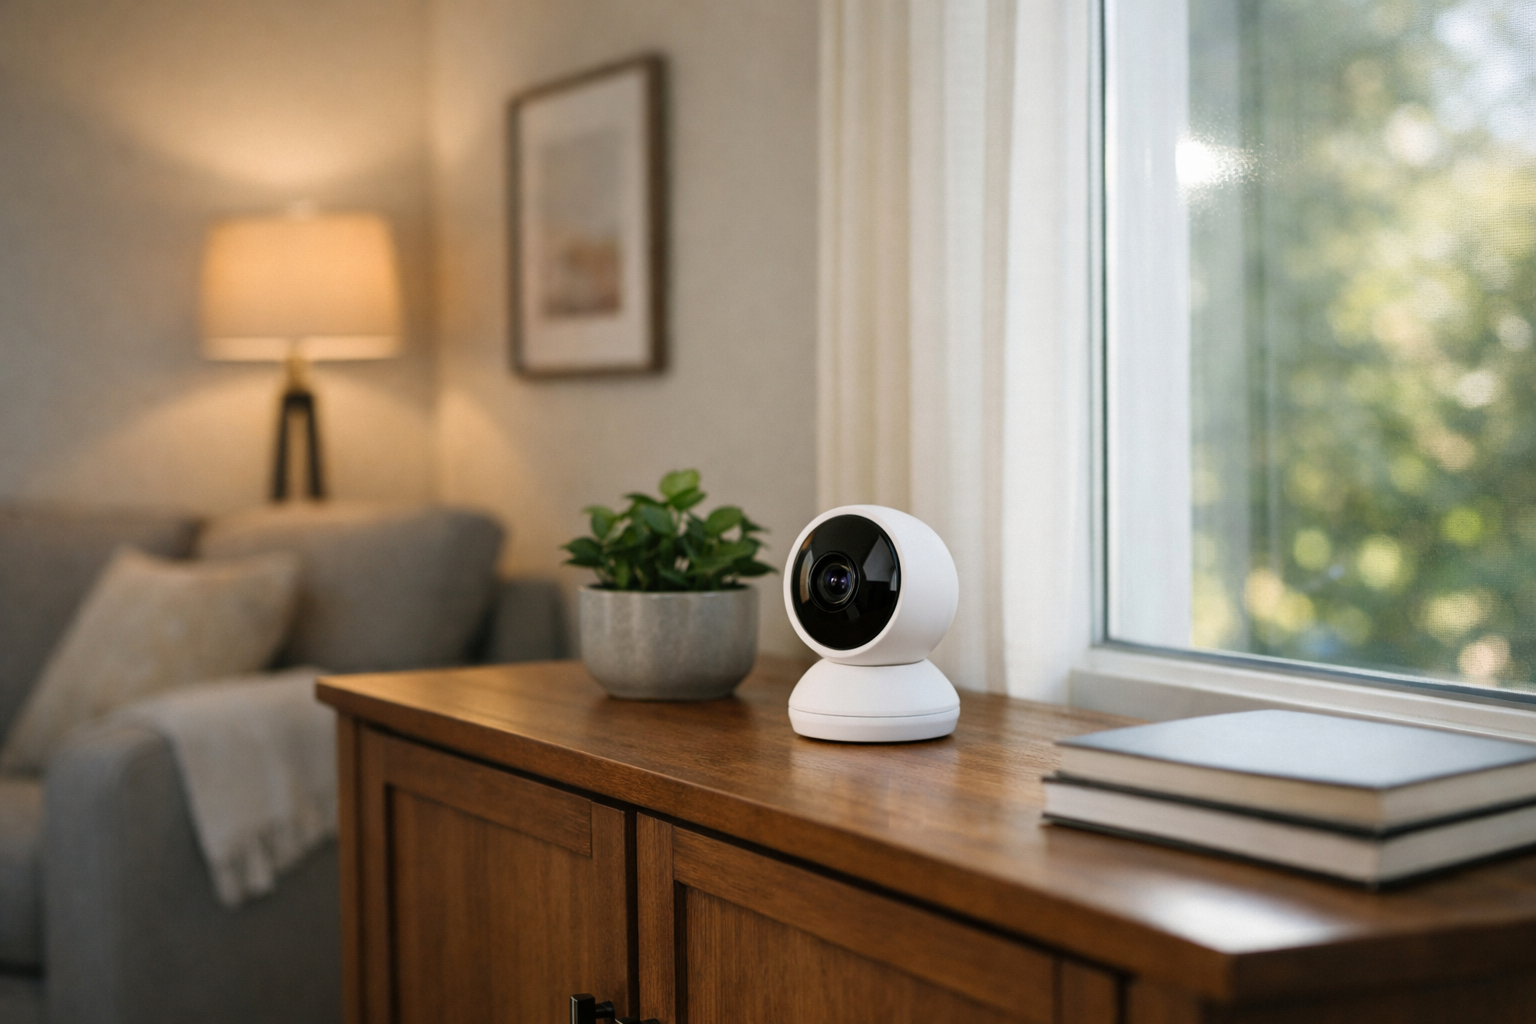
For indoor cameras, the most useful view is usually into the room and toward an entry route—not outward through a window. A camera in a corner can provide a broad view of a living room, hallway, or main floor while staying out of the most obvious walking path.
Avoid placing an indoor camera directly behind glass or pointing through a window. Daytime glare, reflections, insect activity, and infrared night-vision reflection can reduce video quality and cause unreliable motion alerts. Screens can create similar problems.
Good indoor locations often include:
- A living-room corner facing the front entry or hallway
- A hallway that connects exterior doors to bedrooms or common areas
- A main-floor room with accessible doors or windows
- An entryway where a camera can see people moving farther into the home
Be selective in private spaces. Avoid cameras in bathrooms, bedrooms used by guests or children, and other areas where people reasonably expect privacy. If you use a camera in a bedroom or nursery for a specific purpose, review its privacy shutter, recording, account access, and audio settings carefully.
Protect Neighbors’ Privacy and Limit Unnecessary Recording
Camera placement should solve privacy concerns before software settings are involved. Start by aiming cameras at your own doors, driveway, gates, and walkways. Avoid capturing a neighbor’s windows, patio, back yard, or other private areas. Also avoid broad views of public sidewalks or streets unless that view is necessary to cover an approach to your property.
Google’s privacy guidance for Nest products specifically advises considering neighbors’ private property, public pathways, bedrooms, bathrooms, and other places where people have a heightened expectation of privacy.
After choosing a responsible physical angle, use the controls your camera provides:
- Privacy zones: These may mask portions of the image or restrict recording, depending on the product.
- Motion zones: Limit alerts to your porch, gate, driveway, or door path instead of every passing car or pedestrian.
- Audio settings: Disable audio recording if you do not need it, particularly when the camera may capture conversations beyond your property.
- Physical shutters: Close them when an indoor camera is not needed, if your model includes one.
Do not assume every privacy-zone feature works the same way. Some products may block a section from the saved video, while others may primarily affect alerts or on-screen masking. Review the documentation for your exact camera before relying on a setting.
Rules for video and audio recording vary by state and locality. If your camera captures areas beyond your property line, records audio, or is used in a rental or shared building, verify current local requirements before installation.
Reduce Blind Spots and False Motion Alerts
The best security camera placement is not always the widest possible view. A camera pointed at an entire street may generate alerts from cars, pedestrians, headlights, shadows, and moving branches while missing the person who approaches your door from the side.
To reduce nuisance alerts, aim cameras toward defined activity areas and exclude low-value portions of the scene with motion zones when supported. Common sources of false or excessive alerts include:
- Trees, flags, hanging plants, or loose decorations
- Sunlight changes and long moving shadows
- Headlights reflecting off vehicles, windows, or siding
- Busy sidewalks, roads, and neighboring driveways
- Insects or spiderwebs near the lens, especially at night
Trim foliage that repeatedly crosses the camera’s view, but do not place the camera so close to leaves or branches that infrared night vision reflects off them. If a camera frequently detects activity too late, adjust its angle to capture movement across the scene rather than directly toward it.
Test Every Camera Before and After Permanent Mounting
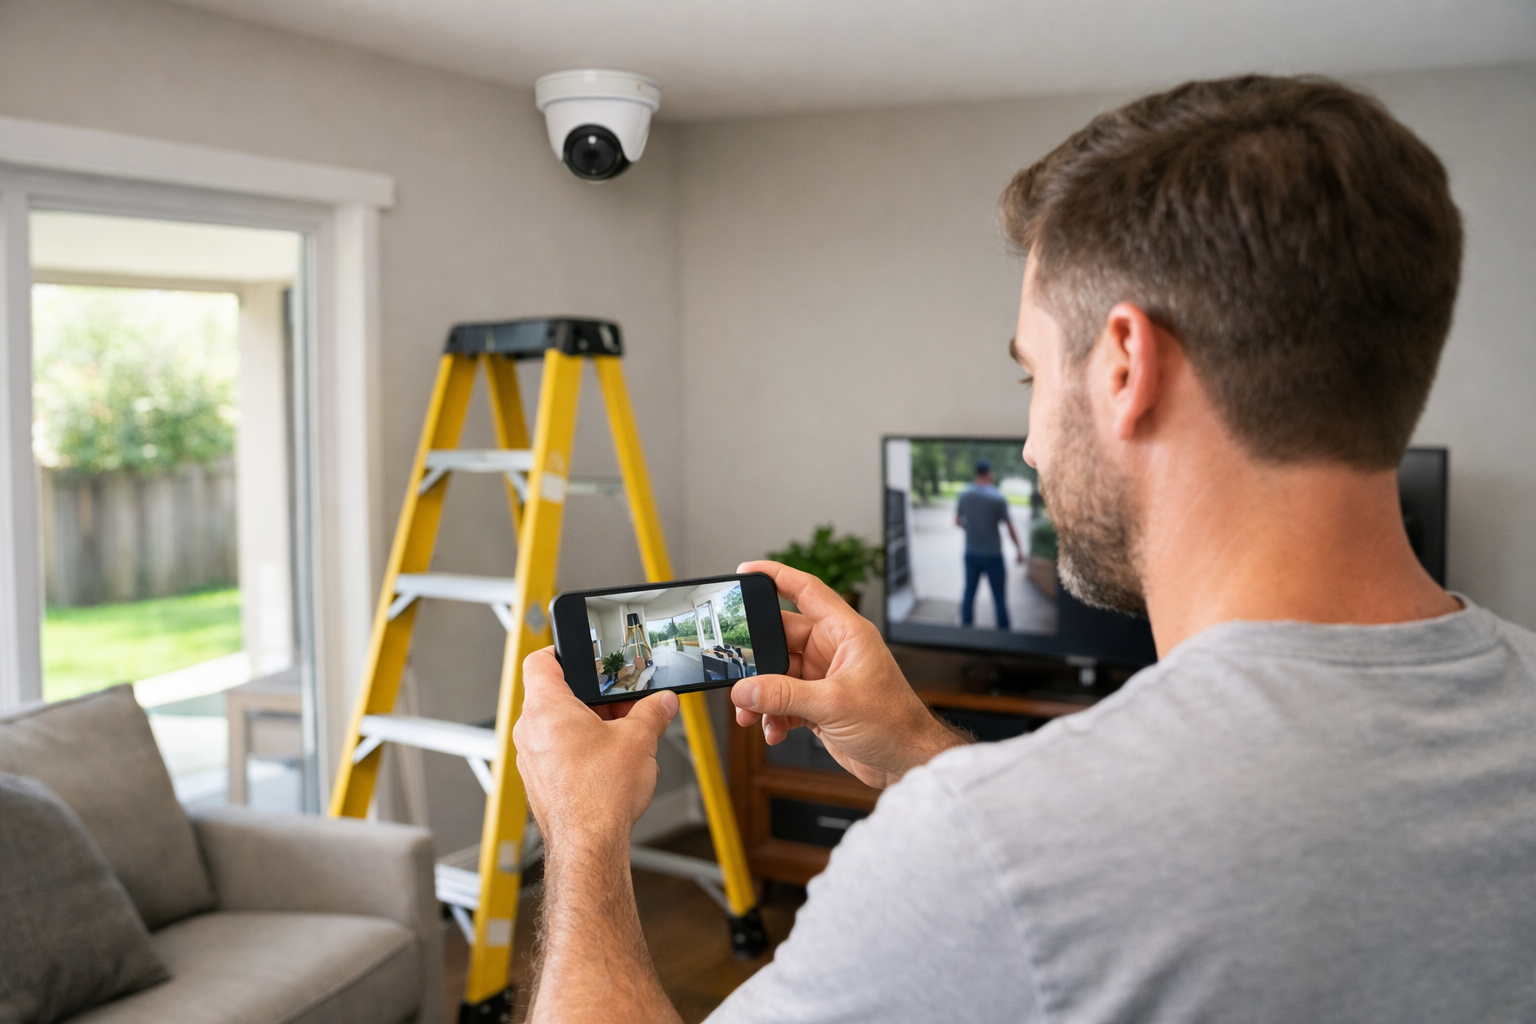
Learning how to place home security cameras is an iterative process. Test a proposed location before drilling, then test again after the final mount changes the height and angle.
Pre-mount checklist
- Check live view from the exact proposed height.
- Confirm that Wi-Fi or wired connectivity is reliable at that location.
- Look for glare at different times of day.
- Make sure the camera is not aimed into a neighbor’s private area.
- Check for tree branches, gutters, railings, and doors that may block the view.
- Verify that you can reach power, charging access, or cable routing safely.
Post-install walk test
After installation, walk the routes you expect the camera to cover. Approach from the sidewalk, driveway, gate, and back yard. Check whether the camera begins recording or sending an alert at a useful point, not only once someone is directly under it.
Repeat the test at night with porch lights, garage lights, and other exterior lighting turned on. Review whether faces are visible near doors and whether bright lights, reflective surfaces, or infrared bounce are obscuring the image. Adjust the mount, motion zones, sensitivity, or lighting as needed.
Build Coverage Around Routes, Not Just Areas
The practical answer to how to place home security cameras is to cover the routes that matter: the walk to the front door, the driveway approach, the side gate, the back entry, and key interior paths. Use overlapping views where one camera alone could be blocked, and keep each lens close enough to capture useful detail.
Start with responsible physical placement, then refine the setup with privacy zones, motion zones, and real-world walk tests. That approach gives you meaningful coverage without turning your home camera system into a source of constant alerts or unnecessary surveillance.
Useful references: Google camera placement guidance · Google Nest privacy guidance
Related Home Tech Signal guides: Best DIY Home Security Systems Without Monthly Fees